Launch multinode jobs with Volcano
This tutorial will guide you through the process of launching multinode training jobs with W&B and Volcano on Kubernetes.
Overview
In this tutorial, you will learn how to use W&B Launch to run multinode jobs on Kubernetes. The steps we will follow are:
- Ensure that you have a Weights & Biases account and a Kubernetes cluster.
- Create a launch queue for our volcano jobs.
- Deploy a Launch agent into our kubernetes cluster.
- Create a distributed training job.
- Launch our distributed training.
Prerequisites
Before you get started, you will need:
- A Weights & Biases account
- A Kubernetes cluster
Create a launch queue
The first step is to create a launch queue. Head to wandb.ai/launch and in the top right corner of your screen, hit the blue Create a queue button. A queue creation drawer will slide out from the right side of your screen. Select an entity, enter a name, and select Kubernetes as the type for your queue.
In the configuration section, we will enter a volcano job template. Any runs launched from this queue will be created using this job specification, so you can modify this configuration as needed to customize your jobs.
This configuration block can accept a Kubernetes job specification, volcano job specification, or any other custom resource definition (CRD) that you are interested in launching. You can make use of macros in the configuration block to dynamically set the contents of this spec.
In this tutorial, we will use a configuration for multinode pytorch training that makes use of volcano's pytorch plugin. You can copy and paste the following config as YAML or JSON:
- YAML
- JSON
kind: Job
spec:
  tasks:
    - name: master
      policies:
        - event: TaskCompleted
          action: CompleteJob
      replicas: 1
      template:
        spec:
          containers:
            - name: master
              image: ${image_uri}
              imagePullPolicy: IfNotPresent
          restartPolicy: OnFailure
    - name: worker
      replicas: 1
      template:
        spec:
          containers:
            - name: worker
              image: ${image_uri}
              workingDir: /home
              imagePullPolicy: IfNotPresent
          restartPolicy: OnFailure
  plugins:
    pytorch:
      - --master=master
      - --worker=worker
      - --port=23456
  minAvailable: 1
  schedulerName: volcano
metadata:
  name: wandb-job-${run_id}
  labels:
    wandb_entity: ${entity_name}
    wandb_project: ${project_name}
  namespace: wandb
apiVersion: batch.volcano.sh/v1alpha1
{
  "kind": "Job",
  "spec": {
    "tasks": [
      {
        "name": "master",
        "policies": [
          {
            "event": "TaskCompleted",
            "action": "CompleteJob"
          }
        ],
        "replicas": 1,
        "template": {
          "spec": {
            "containers": [
              {
                "name": "master",
                "image": "${image_uri}",
                "imagePullPolicy": "IfNotPresent"
              }
            ],
            "restartPolicy": "OnFailure"
          }
        }
      },
      {
        "name": "worker",
        "replicas": 1,
        "template": {
          "spec": {
            "containers": [
              {
                "name": "worker",
                "image": "${image_uri}",
                "workingDir": "/home",
                "imagePullPolicy": "IfNotPresent"
              }
            ],
            "restartPolicy": "OnFailure"
          }
        }
      }
    ],
    "plugins": {
      "pytorch": [
        "--master=master",
        "--worker=worker",
        "--port=23456"
      ]
    },
    "minAvailable": 1,
    "schedulerName": "volcano"
  },
  "metadata": {
    "name": "wandb-job-${run_id}",
    "labels": {
      "wandb_entity": "${entity_name}",
      "wandb_project": "${project_name}"
    },
    "namespace": "wandb"
  },
  "apiVersion": "batch.volcano.sh/v1alpha1"
}
Click the Create queue button at the bottom of the drawer to finish creating your queue.
Install Volcano
To install Volcano in your Kubernetes cluster, you can follow the official installation guide.
Deploy your launch agent
Now that you have created a queue, you will need to deploy a launch agent to pull and execute jobs from the queue. The easiest way to do this is with the launch-agent chart from W&B's official helm-charts repository. Follow the instructions in the README to install the chart into your Kubernetes cluster, and be sure to configure the agent to poll the queue you created earlier.
Create a training job
Volcano's pytorch plugin will automatically configure the necessary environment variables for pytorch ddp to work, e.g. MASTER_ADDR, RANK, WORLD_SIZE, etc. As long as your write your pytorch code uses DDP correctly, everything else should just work. Refer to pytorch's documentation for more details on how to use DDP in your custom python code.
Volcano's pytorch plugin is also compatible with multinode training via the PyTorch Lightning Trainer.
Launch 🚀
Now that our queue and cluster are set up, it's time to launch some distributed training! To start off with we will use a job trains a simple multi-layer perceptron on random data using volcano's pytorch plugin. You can find the source code for the job here.
To launch this job, head to the job's page and click the Launch button in the top right corner of the screen. You will be prompted to select a queue to launch the job from.
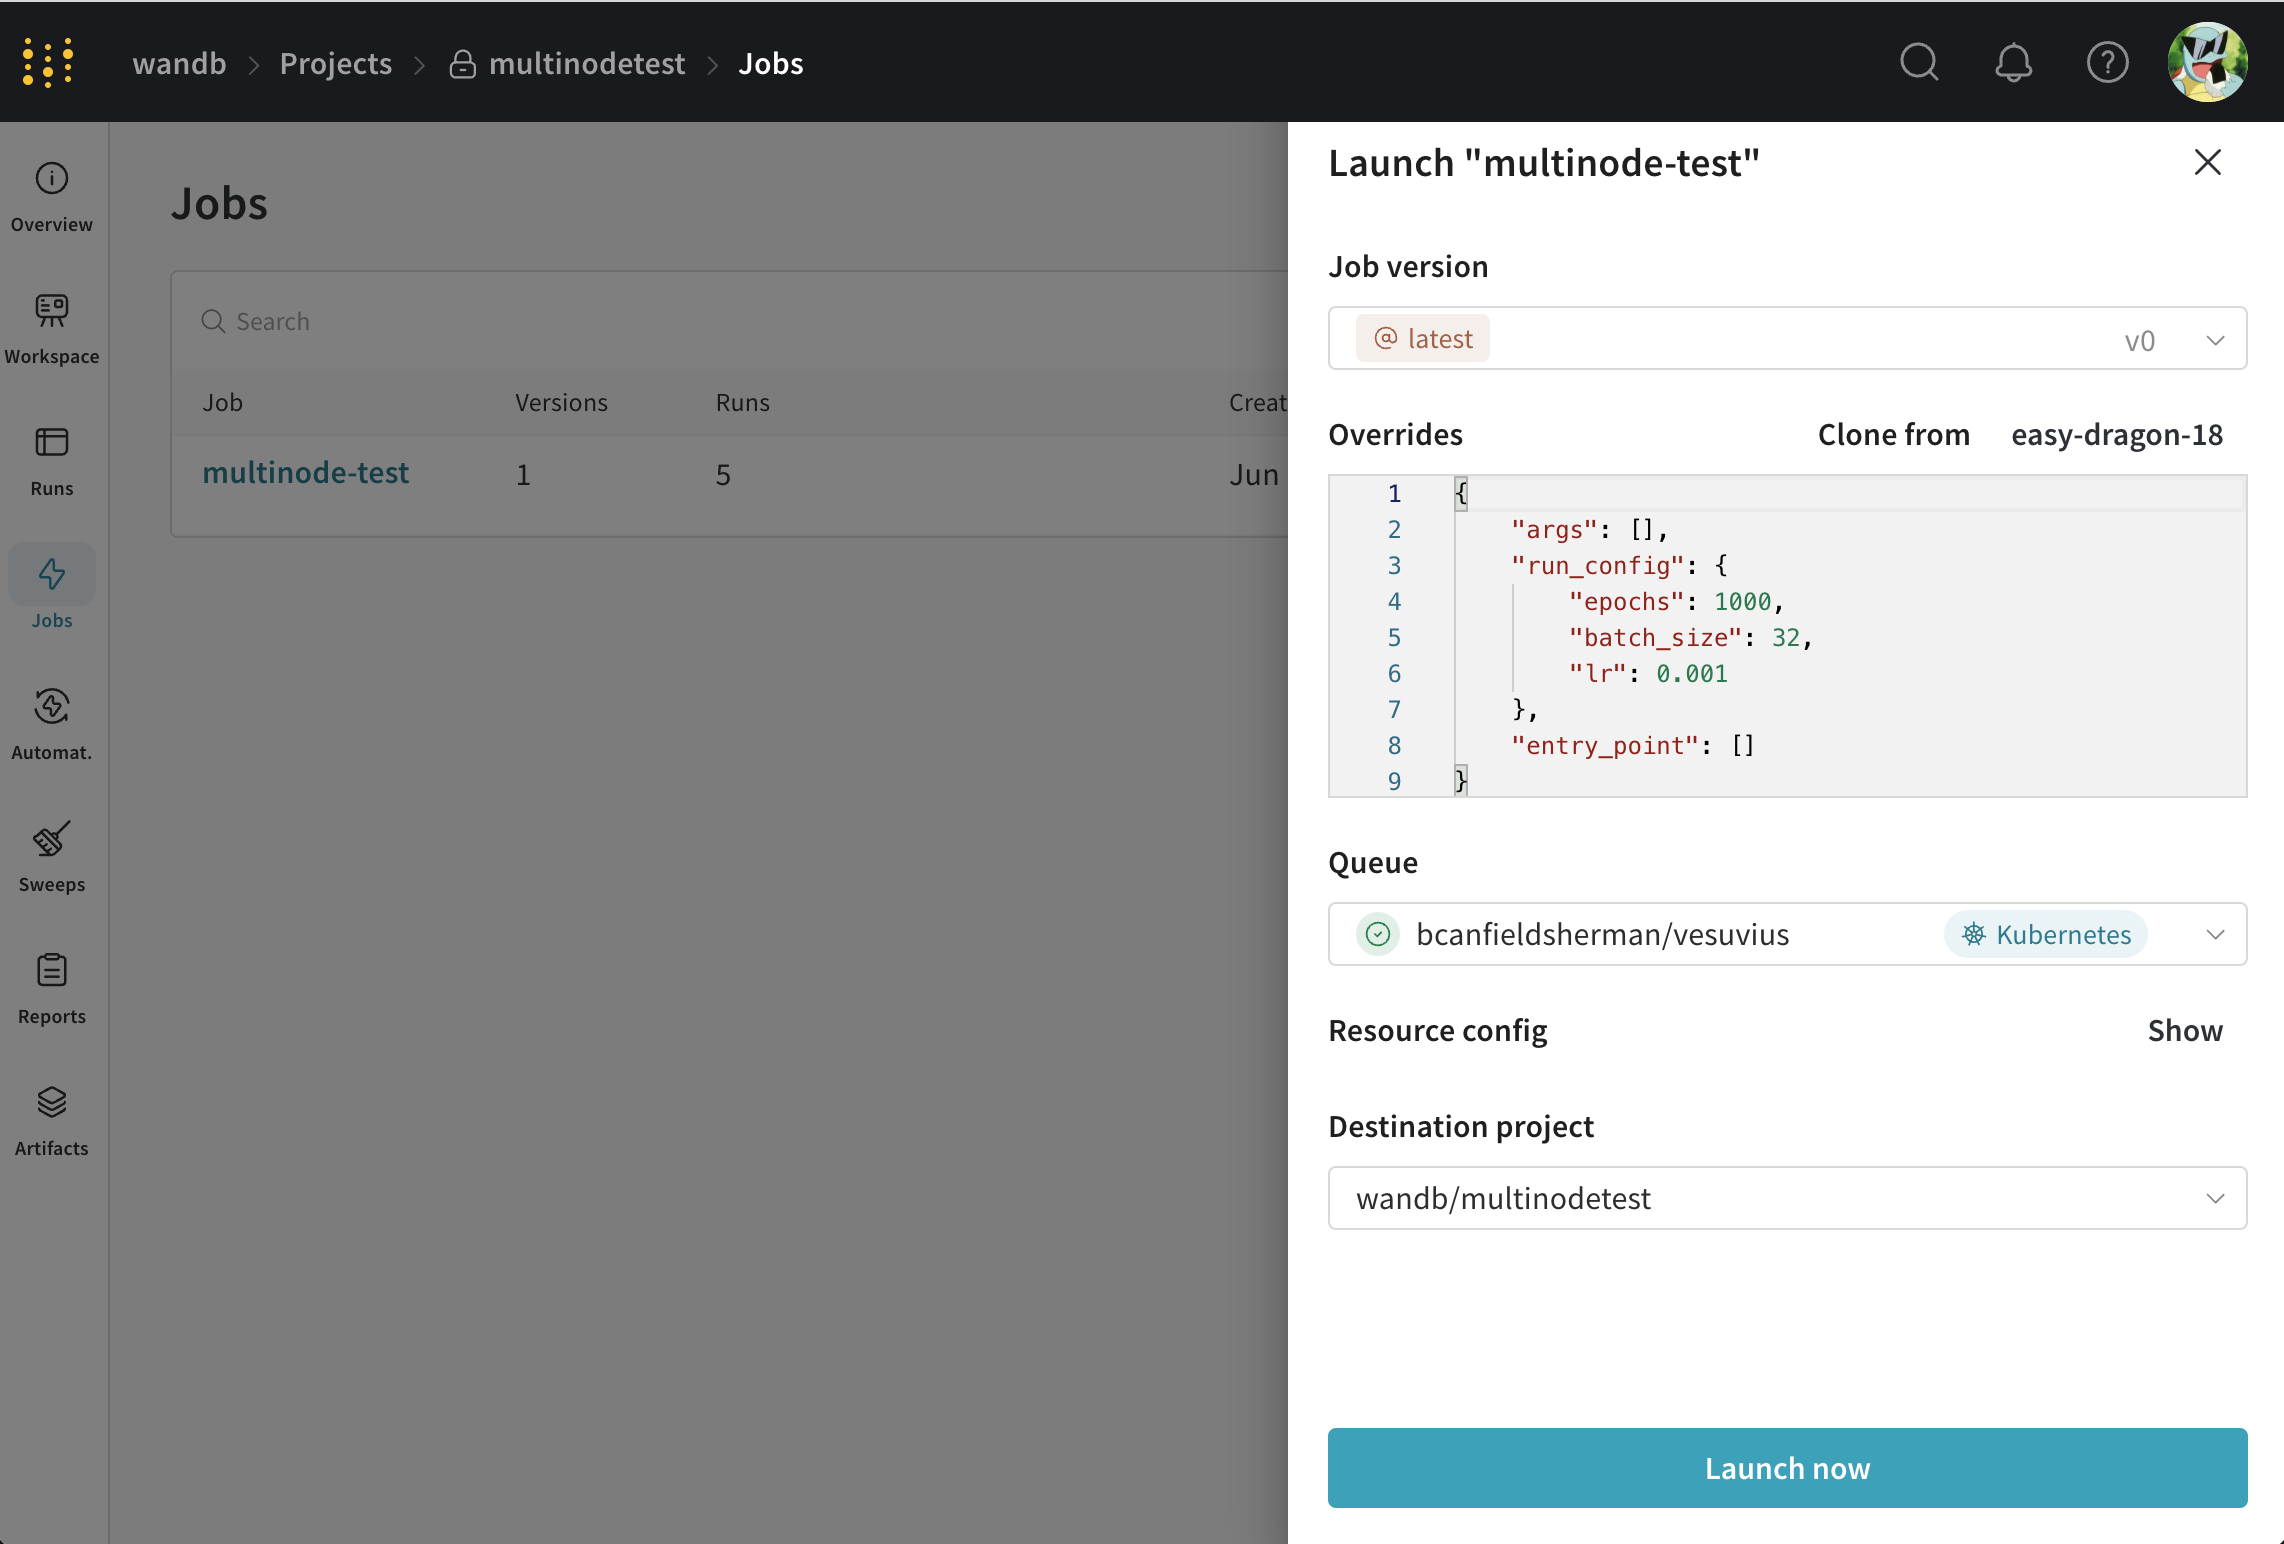
- Set the jobs parameters however you like,
- Select the queue you created earlier.
- Modify the volcano job in the Resource config section to modify the parameters of your job. For example, you can change the number of workers by changing the
replicasfield in theworkertask. - Click Launch 🚀
You can monitor the progress and if necessary stop your job from the W&B UI.